1st Battalion
Advance to Contact
Chapter 3
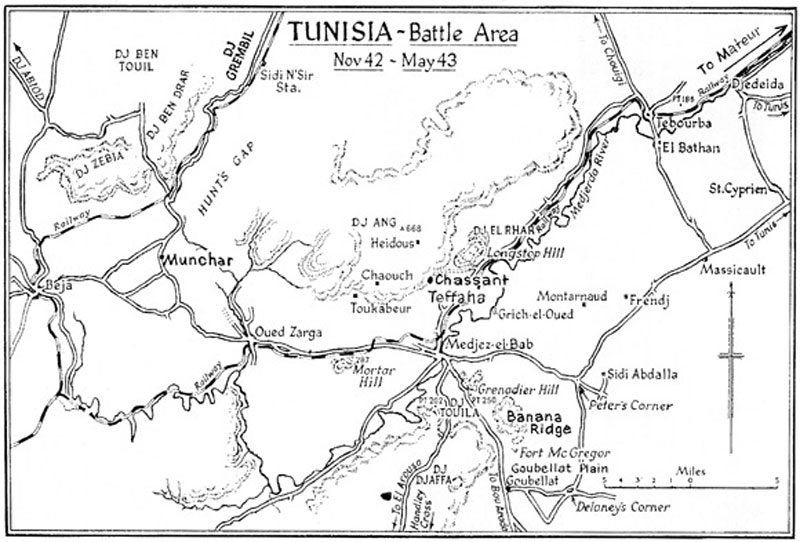
On 17th November 1942, 78 Division was ordered to advance on Tunis. The plan was for 36 Brigade to advance along the northern road to Mateur, where the road forks to Bizerta and Tunis, and for 11 Brigade to follow a route some 25 miles further south, through Souk-el-Arba, Beja, Medjez-el-Bab, Tebourba and Djedeida to Tunis. The armoured regimental group known as 'Blade Force' was to operate on the high ground between the two roads.
1 Surreys mounted in TCV s now began their approach march of over 450 miles along the southern route through some very wild countryside in the Atlas Mountains, and after crossing into Tunisia entered the small town of Beja. Here there were signs of shelling and bombing and it was obvious that the enemy were fairly close. Two nights were spent in Beja while the Battalion sent mobile patrols out for distances of ten to fifteen miles without making contact with the enemy. The Battalion continued the advance behind a protective screen of carriers and American 'Tank Busters' (self propelled anti-tank guns). When this screen had just passed Oued Zarga it came under fire from a hill later known as 'Mortar Hill' or 'Buck's Pimple'.
Colonel T A Buchanan, DSO.,OBE.,MC.,ERD.,TD., then Major commanding B Company, has described the battle for Mortar Hill in the following terms:-
"The Surreys in TCVs were making their approach march towards Medjez-el-Bab. There was a protective screen some 3 or 4 miles in front. The screen came under fire from Mortar Hill and was held up. One carrier was hit and Corporal P North was killed. The Battalion halted some miles back and B Company was ordered to go forward and attack Mortar Hill; it was towards evening and all orders were given from the map. I went forward in the company truck with my three platoon commanders - 10 Platoon Lieut George Everitt, 11 Platoon Lieut Jake Saunders, and 12 Platoon Lieut Phil Whiffen. The company second-in-command, Captain Toby Taylor was left to bring up the company to a prearranged rendezvous. The American commander was contacted but he had no worthwhile information. The company were about a mile from Mortar Hill. It was dark but the outline of Mortar Hill could be seen. There was no definite information about the enemy".
"I decided to make a two platoon attack while 10 Platoon were sent on a detour to attempt to cut off the rear of the enemy. There was a farm at the foot of the hill and I decided to bypass this as it was suspected that dogs were around. Unfortunately the dogs started barking when the company were some distance away but we pushed slowly forward up the hill in the dark. It was hard going. Soon automatic fire came from near the top of the hill. Fire was returned and the fire fight had started, but still slow progress was made. The enemy, German paratroops, would fire from one position and then quickly move to another position. It was almost impossible to pin-point them. Unfortunately contact had been lost with 10 Platoon. Progress was not now being made and there were casualties so I decided to fire the Verey pistol which was a signal to withdraw to a prearranged rendezvous. Luckily 10 Platoon also saw the signal and joined up with the rest of the company which then settled down in a defensive position for the rest of the night".
Map 2 |
Map 3 |

"At first light, it was only a couple of hours later, the company reformed and started up the hill again. The enemy had withdrawn and so a defensive position was organised on the hill. There were several casualties, at least two killed and Lieut Whiffen was missing. (It was later learned that he was wounded; he lost a leg and was captured). When the Battalion came up level with Mortar Hill the company rejoined and the advance continued".
On the night of 24th November, 2 Lancashire Fusiliers and 5 Northamptons attacked Medjez-el-Bab from the north and south respectively but despite a night's heavy fighting the attack failed. On the 26th November 11 Brigade again attacked, this time 1 Surreys led. To their surprise the enemy had withdrawn and abandoned Medjez, a key position and one which was to prove of vital importance. The advance on Tunis continued with 1 Surreys still leading.
Half way to Tebourba there is a rocky outcrop, part of the feature later to be known as 'Longstop Hill' which practically touches the road and forms a potentially dangerous defile with the River Medjerda. Captain W D Caffyn, commanding C Company, was ordered to picquet the outcrop with a platoon. The Battalion continued the advance to Tebourba, a little town some eighteen miles north east of Medjez.
After the column had passed the defile, the picquet on Longstop Hill under Lieut R W Heath was withdrawn and rejoined C Company.
View from Point 186 |
Point 186 from El Bathan |
El Bathan Bridge |
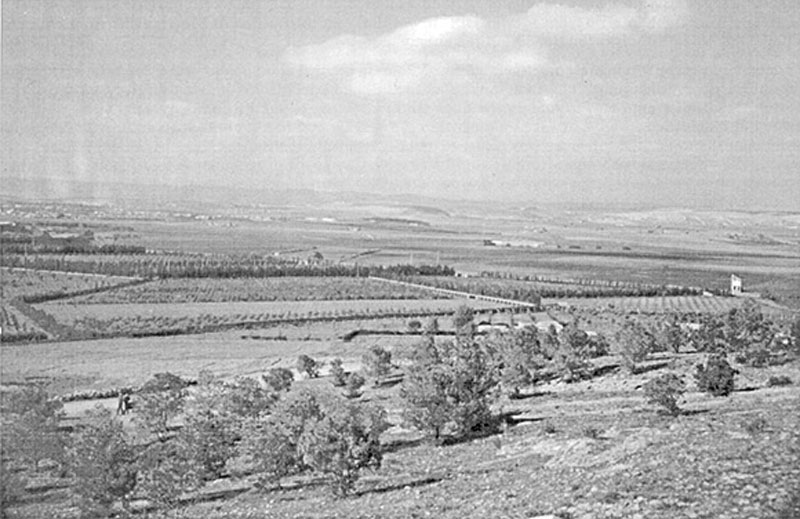
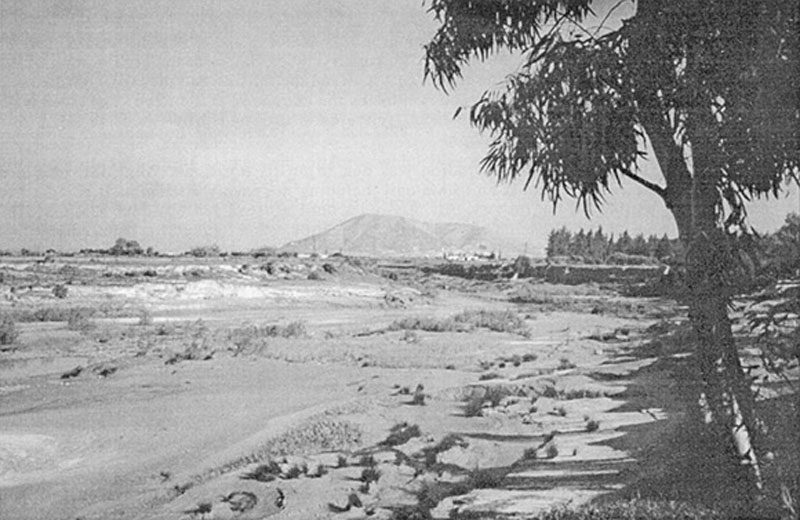
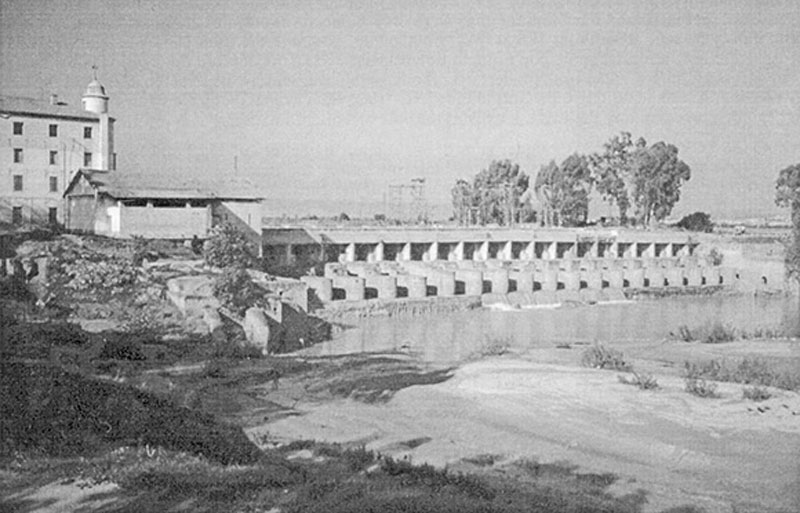
Late on 26th November Lt Col Wilberforce halted the Battalion a mile short of the town and sent a patrol forward which confirmed it was clear of the enemy. On entering Tebourba it was found to be in ruins as a result of heavy bombing. Overlooking the town is a hill marked on maps as Point 186. The patrol also reported this hill to be unoccupied. Colonel Wilberforce ordered A Company (Captain RAN Andrews) to take up positions on Point 186. Battalion Headquarters was established in a wood near the railway station with C Company (Captain W D Caffyn) a little to the north and B Company (Major T A Buchanan) on its right, but across the river, D Company (Captain J F V Brooke Fox) took up positions to the south of the bridge at El Bathan. There was opposition at EI Bathan but this was quickly overcome by Lieut F C Hall's platoon which seized the bridge with considerable dash.
Related
